Rim flow Jacuzzi Installation

Rim flow Jacuzzi in Polished Deck
Rim flow Jacuzzi Installations can be tricky at the least. Getting it just right is not easy.
The Rim flow Jacuzzi has a balancing tank that should be installed as close as possible to the rim of the bath. The balancing tank temporarily stores the extra water that is displaced when people get into the Jacuzzi. Once they get out then the water is pumped back into the Jacuzzi again, this balancing system is what makes the Rim flow Jacuzzi unique from all other Jacuzzi’s.
Prepping the area is the most important part of the installation. Clearing a 3 m x 4 m area should be more than adequate.

Rim flow Jacuzzi Installation Prepping
Depending on the height the customer requires the Jacuzzi to be, that is how deep you need to dig the hole.
Place the Jacuzzi and Balancing Tank next to each other in your prepared area. This is where the Jacuzzi will stand once it is connected.
All Jacuzzi’s should be supported on the foot well. (The area where your feet goes in.)
The whole weight of the Jacuzzi rests on that section.
There are two types of support you can use.
River Sand for portable installations.
Building mix without stone for installations where you build a permanent structure. You need to put plastic over the cement before you put the Jacuzzi on it. This will ensure that if the Jacuzzi needs to be taken out again then it won’t stick to the cement.
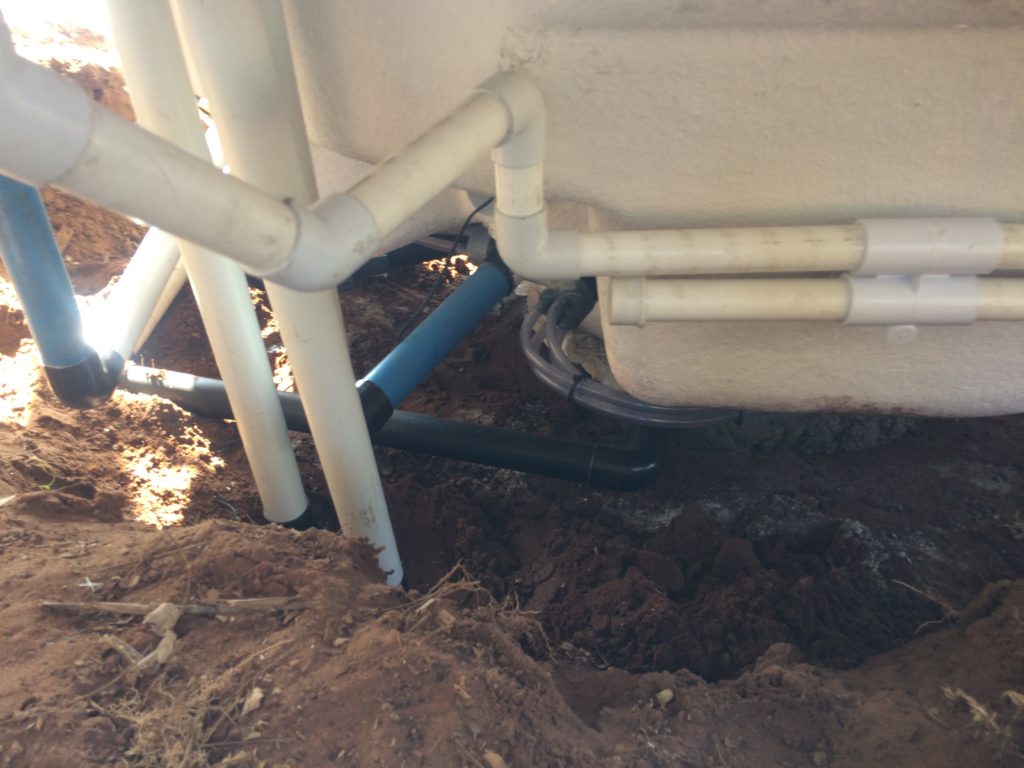
rimflow support
It’s sometimes better to install the Rim Flow first and then finish off afterwards. If you can’t then it’s fine, first do the building work and then place the Rim Flow inside the brickwork. Make sure to wiggle it until the bottom of the flange is 5 mm from the brickwork. This will ensure that once you put water in then the Jacuzzi will settle on the brick and not crack.
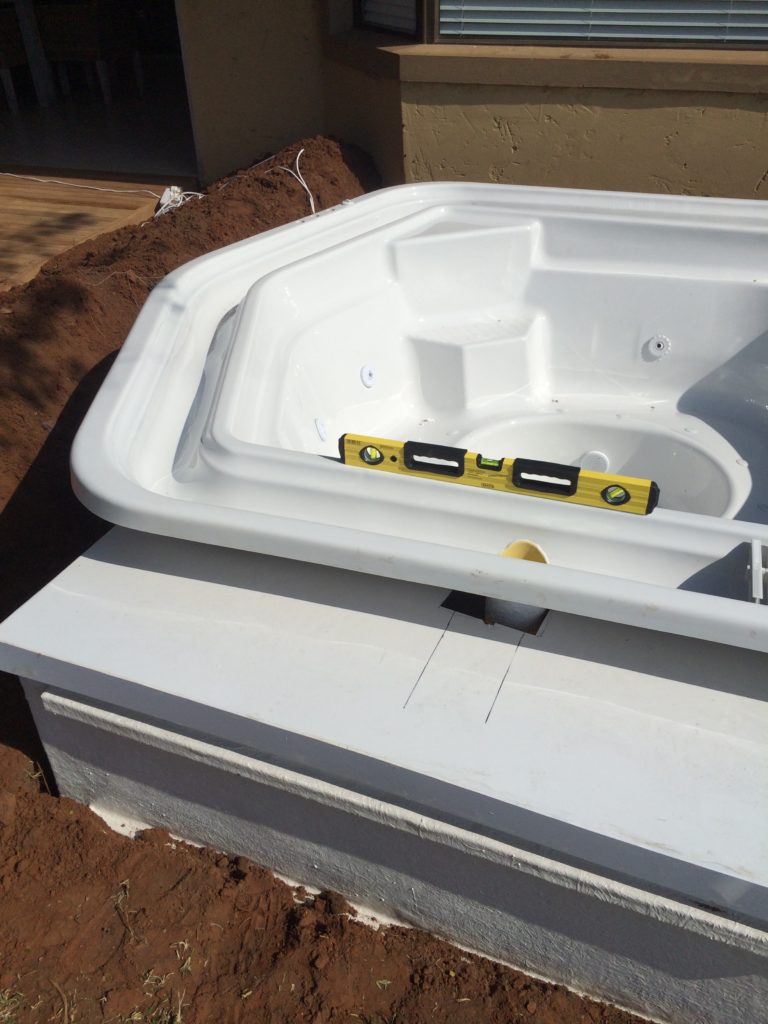
Rim Flow Jacuzzi Level
Make sure the Rim Flow Jacuzzi is level and parallel to the wall or something you chose close by. It will be difficult to position it once the pipes are installed.
Installing the ribs is also important.
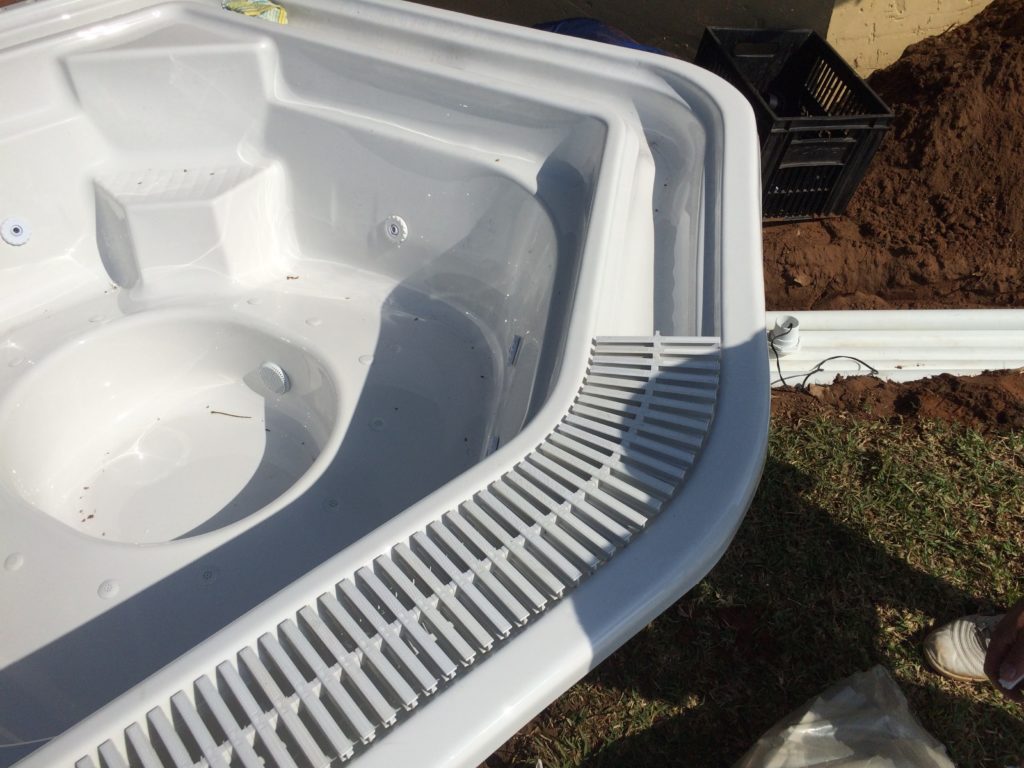
Rim Flow Ribs Installation
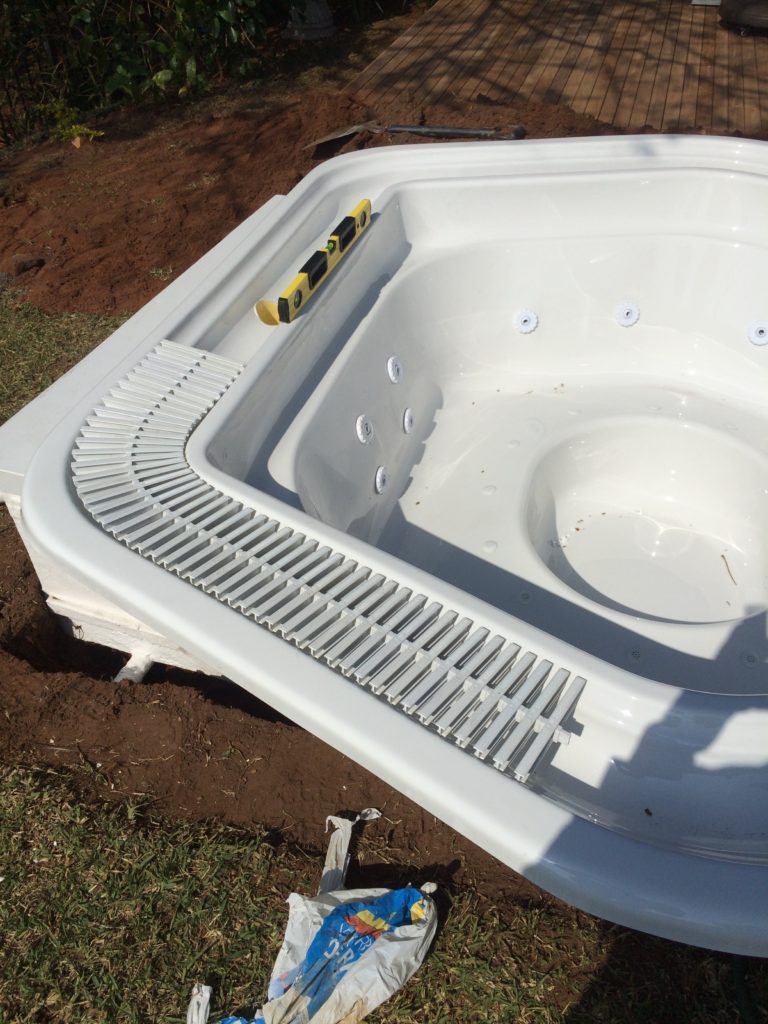
Rim Flow Ribs Installation 2
This Rim Flow Jacuzzi takes 272 ribs.
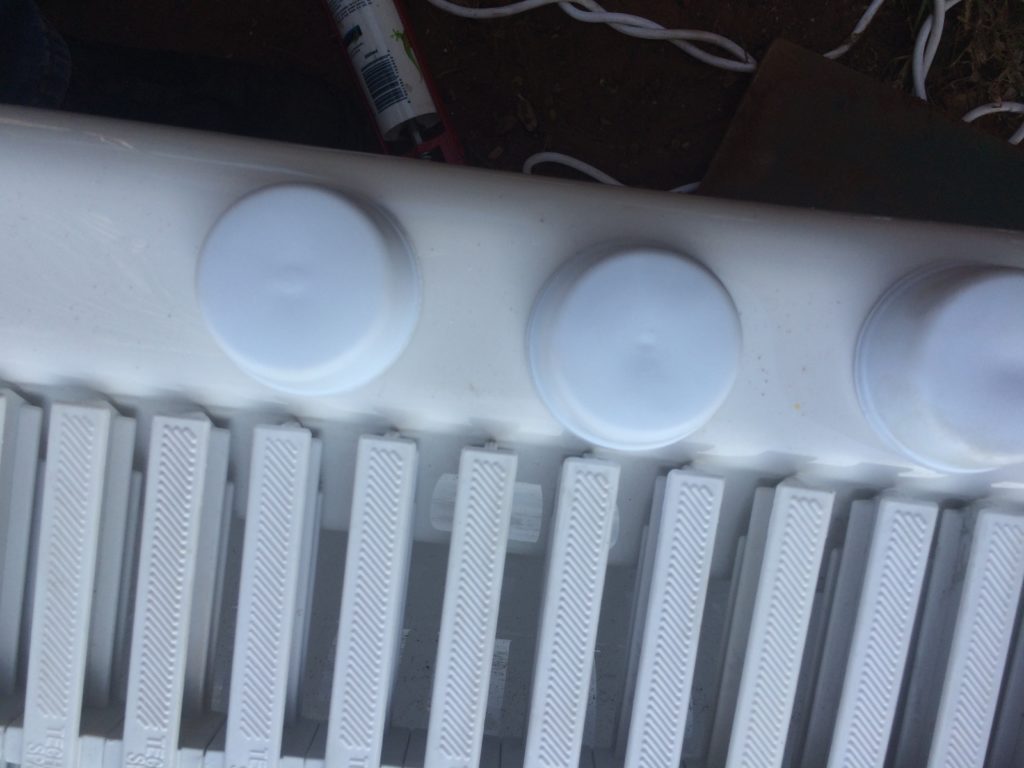
Rim Flow Jacuzzi Air Buttons
Make sure the buttons are in and connected to the air switches in the spa db. If you put the pipes in conduit then they will not be damaged or pinched. Replacing these pipes can be a story, so do it right the first time.
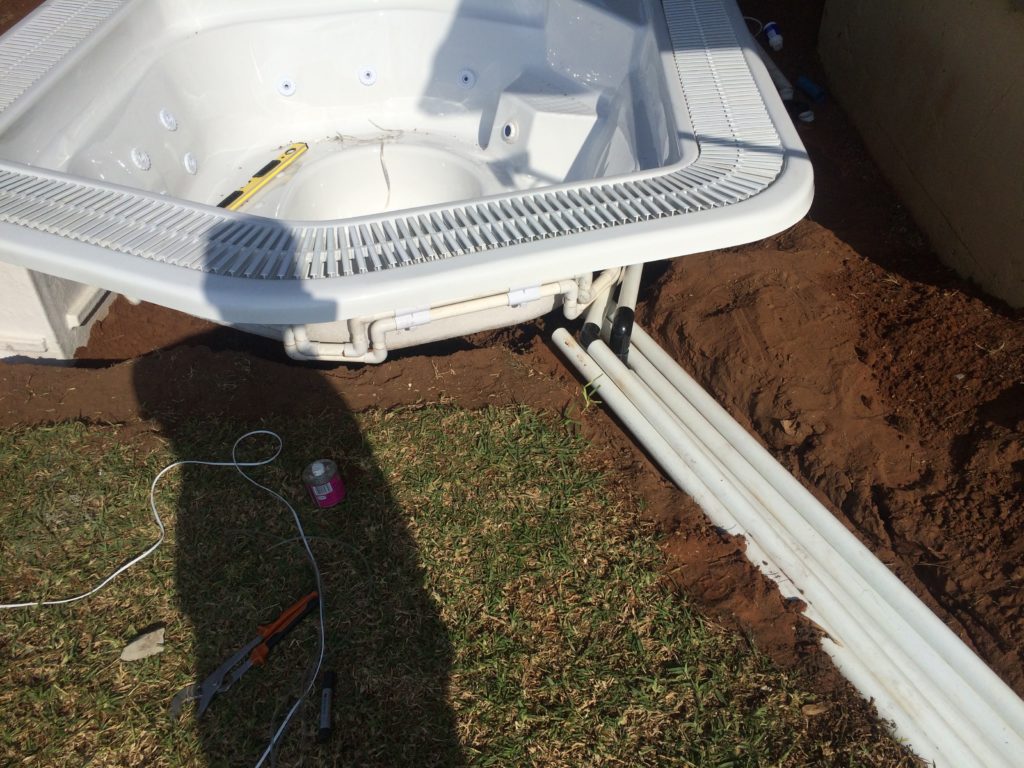
Rim Flow Pipe Installation
When you are confident that the Rim Flow Jacuzzi is supported correctly and in the right position, then you can start connecting the pump. Sinking the pipes will make it look nice, if you are installing a deck around it that will hide the pipes, then leave the pipes above ground for future repairs.

Rim Flow Pipe Installation Tank
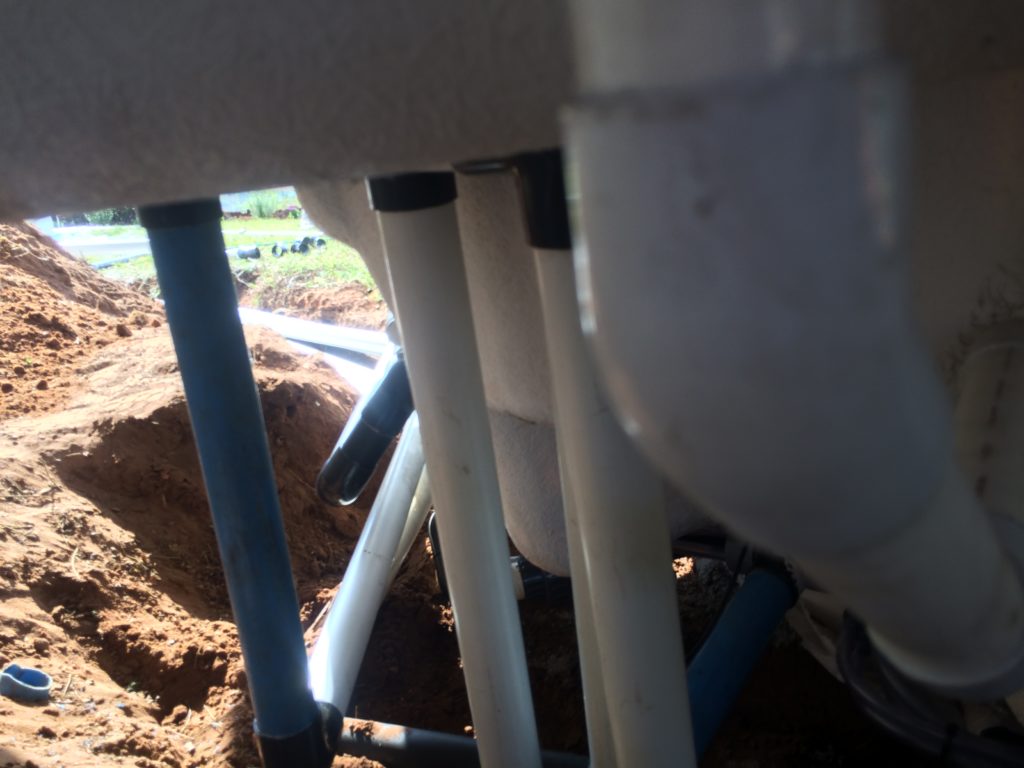
Rim Flow Goose Neck
Place the pump not further than 5 m from the Jacuzzi. Every meter you go away from the Jacuzzi you start loosing pressure on the jets.
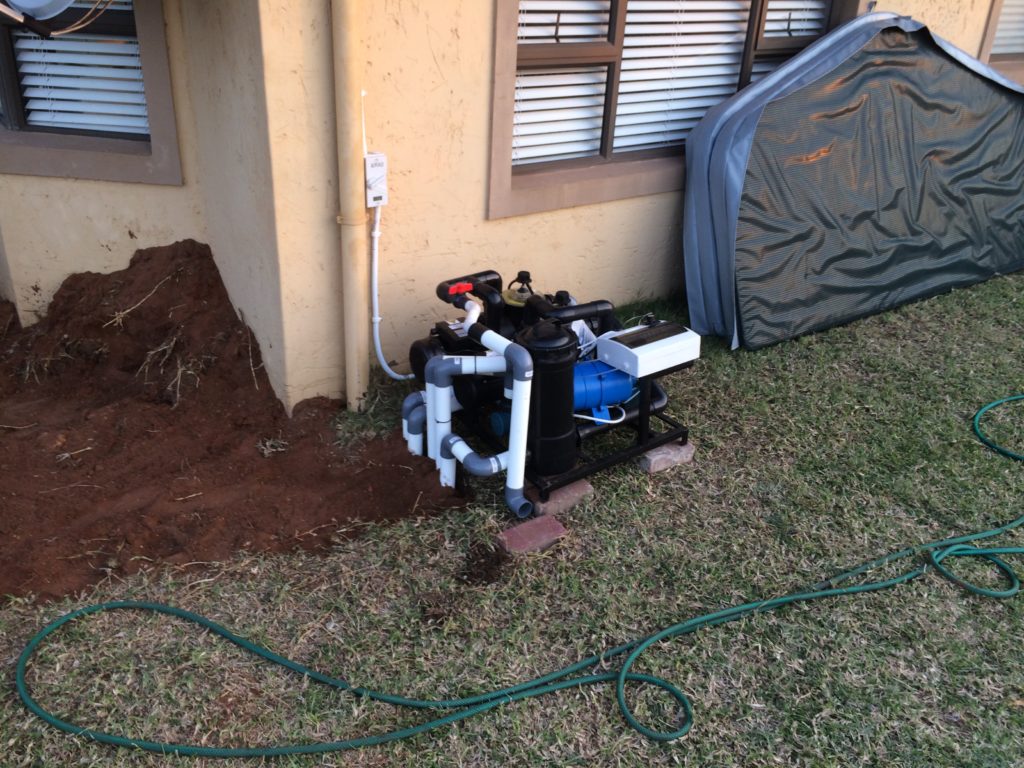
rimflow pump
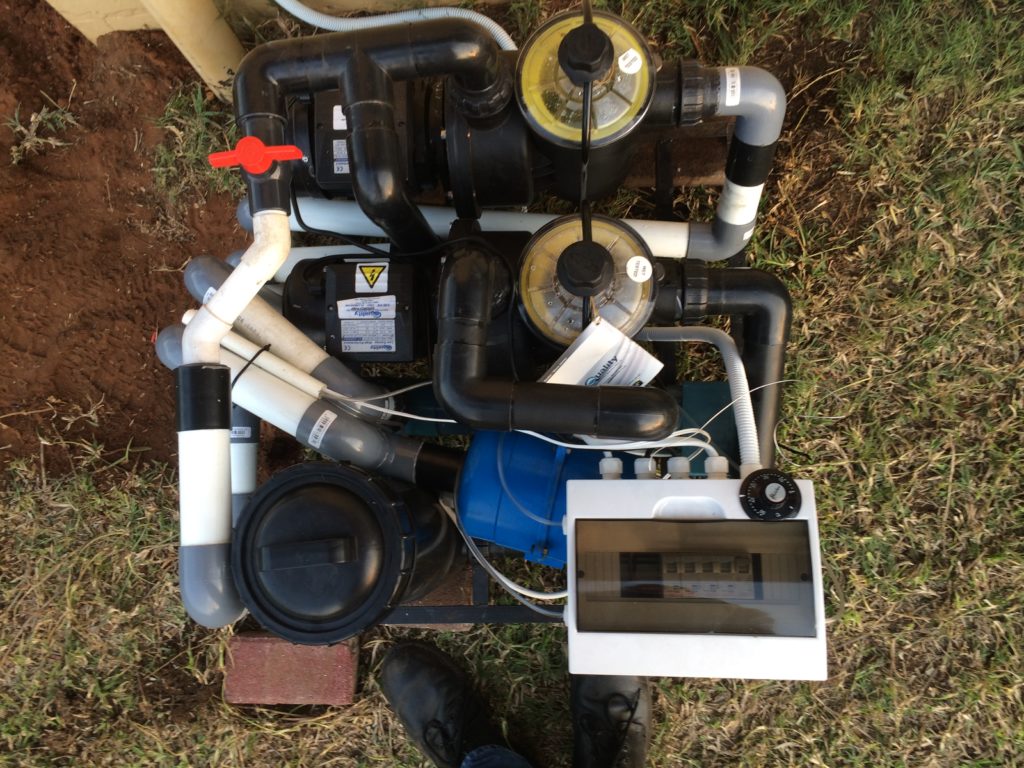
rimflow pump 2
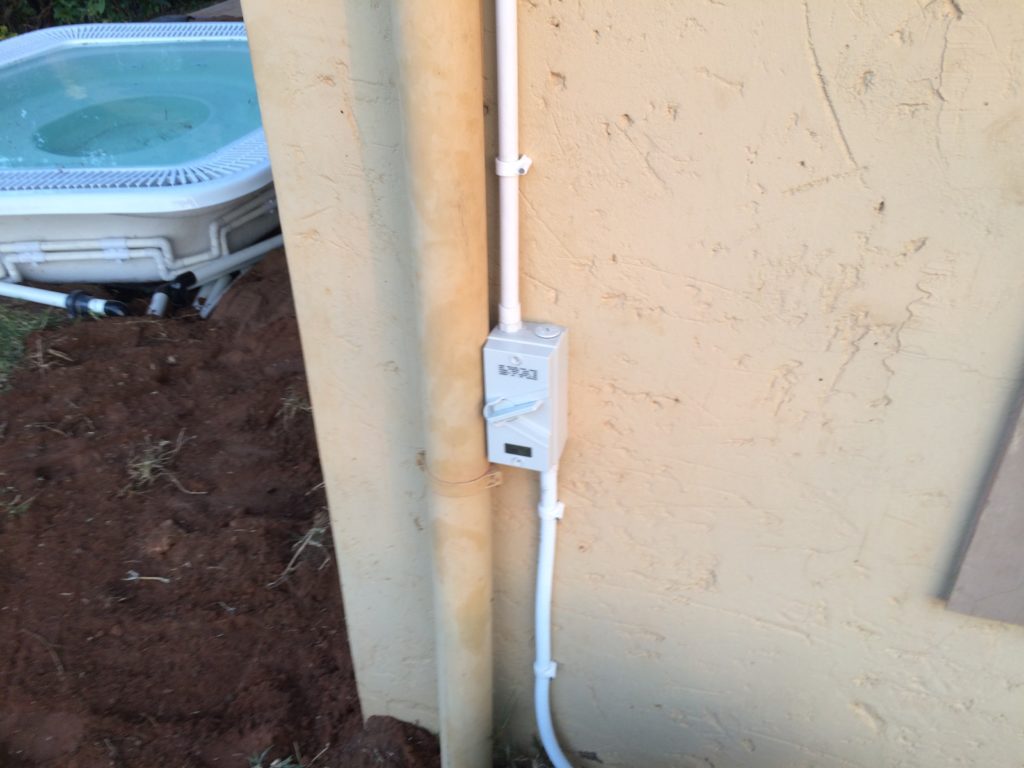
rimflow electricity
After the Rim Flow Jacuzzi is installed you can start putting water in.
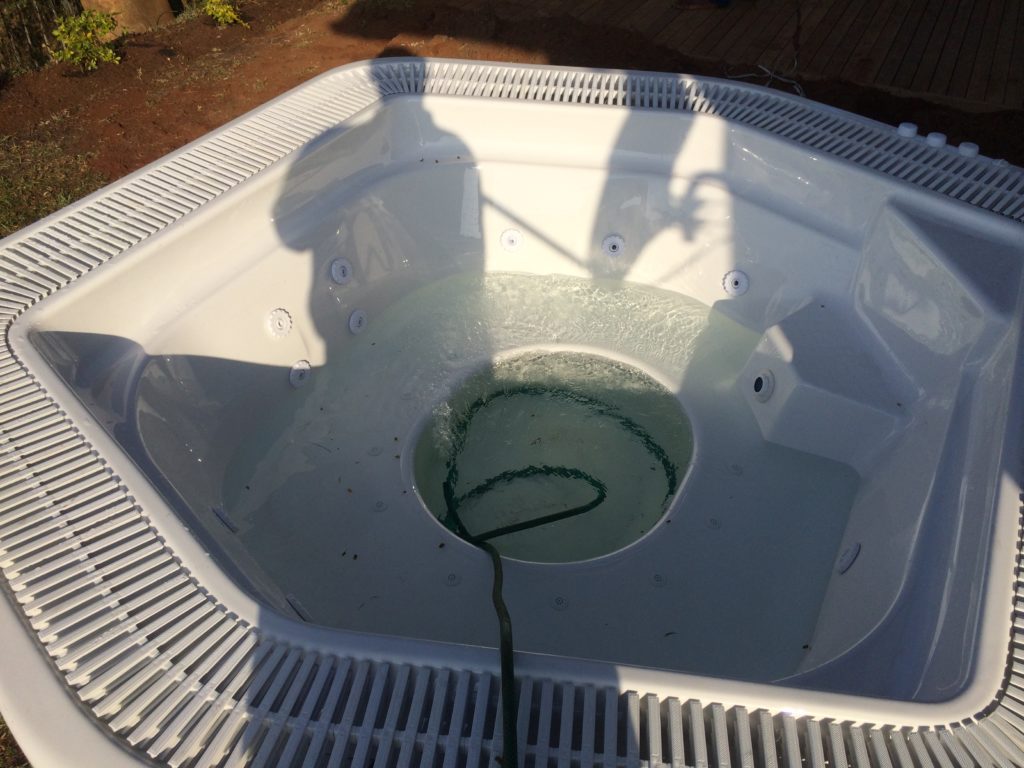
Rim Flow Water

Rim Flow pipe installation tank
The Cover goes on last. The cover is there to save you electricity and also to keep dust and leaves out.
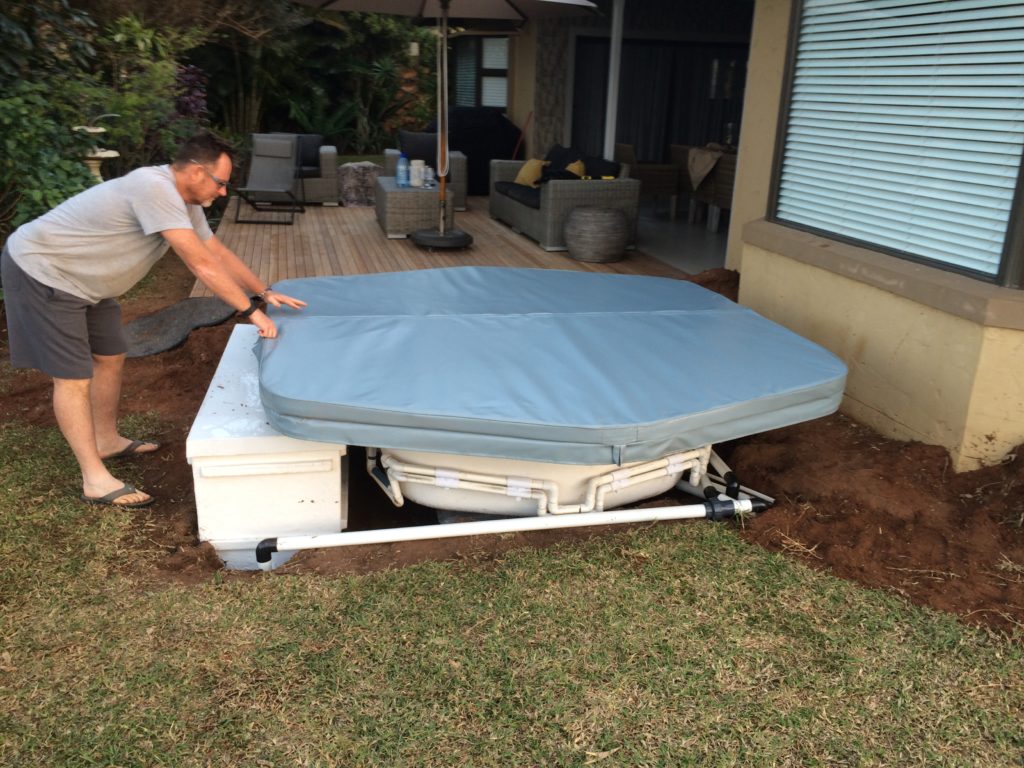
Rim Flow Jacuzzi Cover


